How To Configure Network Settings On TiVo?

Are you looking to configure network settings on your TiVo device, which is already active? If yes, then kindly read below-mentioned information diligently. By the end of this post, you will know exactly how to configure network settings on your TiVo device.
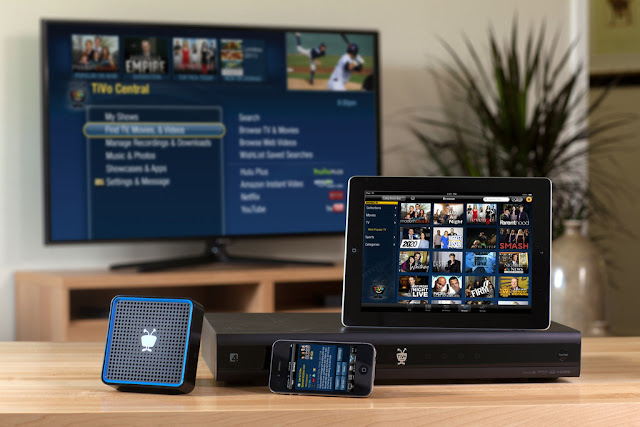
TiVo is a digital video recorder (DVR), which is just like the old DVRs but has many new features incorporated as well. TiVo is going to make your life a lot easier because it has a lot of new features that will allow you to record your favorite movies and shows how you want and whenever you want. You just need to perform TiVo setup and you are ready to record your favorite content.
1. The first step is to navigate to change network settings’ option and choose your connection type.
2. You can choose the network connection type based on the current network setup.
3. Once you have selected the connection type, you are going to see the IP address screen. You can choose the option named ‘get automatically from DHCP server’. Wait until the connection becomes successful, and once it’s done, then you will say ‘network setup complete’. Then, you have to specify a static IP address, if you want to assign the IP address manually.
4. You need to configure the connection type using an Ethernet cable. Connect an Ethernet cable at the back of TiVo device with other end going to the back of the router/modem.
TiVo will automatically detect the Ethernet connection and move onto the IP address screen. You will come across multiple options from which you need to select the right one.
- Get automatically from DHCP server.
- Let me specify a static IP address.
You can choose one of the above-mentioned options depending upon what you are most convenient with. You can also configure the connection type wirelessly. But, you need to have the name along with the password that is used by the wireless router that you have at home. You can take the help of TiVo com support provider in case you don’t have these details.

5. Configuring a Static IP
This is an optional thing, but you can consider it if you are looking to provide TiVo device with a static IP address. Also, make sure that your TiVo has been activated. For that, go to TiVo com activate the link.
- Verify IP addresses on your PC. The process is different for different operating systems, so you need to take the help from a professional so that the verification of the IP addresses on your computer can be done easily.
- You need to specify a static IP address. There will be an option named ‘specify a static IP address, which you have to select.
- After that, enter a static IP address for your TiVo device. It needs to be different on the network. If you don’t know about entering a static IP address, then you can take the help of TiVo customer service providers.
- When it comes to choosing Gateway address and subnet mask, then those can be similar to those, which are assigned to other devices on the network. In a similar way, you can assign DNS address.
- If the addresses match with those addresses that are already assigned to your PC, then select ‘use these addresses’ option. With this, your network setup will be finished.
- You will also be asked whether you wish to enter a different DNS address.
- Finally, your TiVo device is going to try to connect to the network. If it happens successfully, then you can begin your work. If it fails, then you are going to see a prompt asking you to change the network settings. Check whether the password to the network along with other settings are correct or not.
With this, the process of configuring network setting is finished. If you come across any issue, then you can get in touch with TiVo help and support providers.


Comments
Post a Comment